
1.环境配置
1.1 Strawberry Perl 安装
下载地址:Strawberry Perl Releases
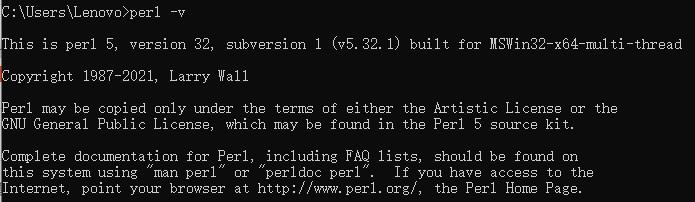
安装过程默认即可,环境变量会自动配置,安装完成后输入perl -v,显示如下则为正常:
1.2 NASM 安装
下载地址:Nasm Releases
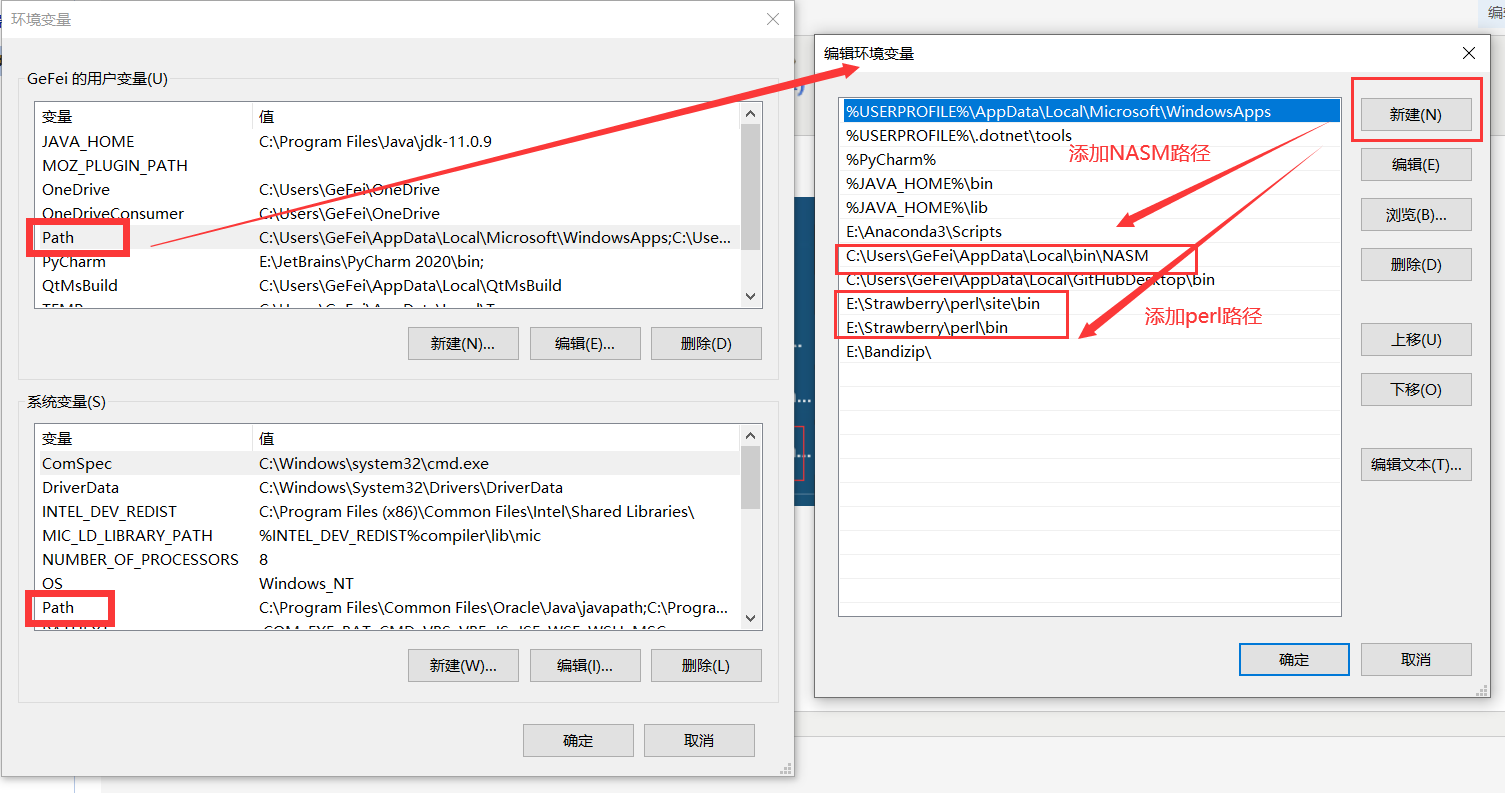
安装完成后需要添加环境变量,顺便检查下Perl
1.3 OpenSSL 源码下载
下载地址:OpenSSL Releases
2.编译
2.1 根据需要选择VS控制台(x86/x64)
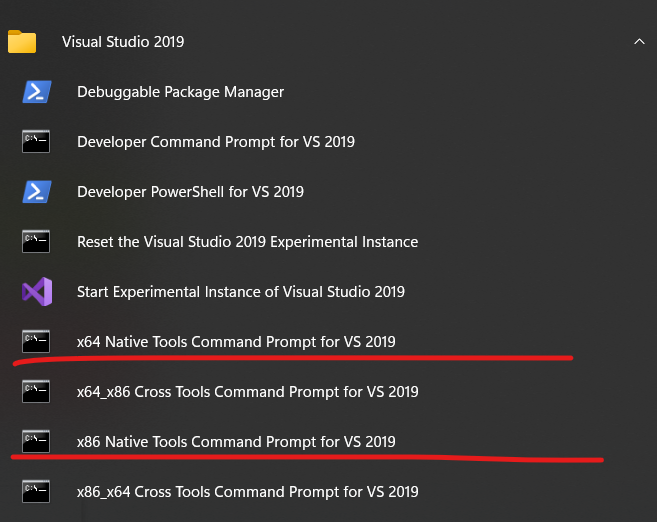
注意:以管理员方式运行
2.2 编译类型及其对应指令
| 编译类型 | 编译指令 |
|---|---|
| 32位动态库Debug版本 | perl Configure debug-VC-WIN32 no-asm --prefix="D:\OpenSSL\DLL\x86\Debug" |
| 32位动态库Release版本 | perl Configure VC-WIN32 no-asm --prefix="D:\OpenSSL\DLL\x86\Release" |
| 64位动态库Debug版本 | perl Configure debug-VC-WIN64A no-asm --prefix="D:\OpenSSL\DLL\x64\Debug" |
| 64位动态库Release版本 | perl Configure VC-WIN64A no-asm --prefix="D:\OpenSSL\DLL\x64\Release" |
| 32位静态库Debug版本 | perl Configure debug-VC-WIN32 no-asm no-shared --prefix="D:\OpenSSL\Lib\x86\Debug" |
| 32位静态库Release版本 | perl Configure VC-WIN32 no-asm no-shared --prefix="D:\OpenSSL\Lib\x86\Release" |
| 64位静态库Debug版本 | perl Configure debug-VC-WIN64A no-asm no-shared --prefix="D:\OpenSSL\Lib\x64\Debug" |
| 64位静态库Release版本 | perl Configure VC-WIN64A no-asm no-shared --prefix="D:\OpenSSL\Lib\x64\Release" |
2.3 编译过程
- 1.输入对应版本编译指令
- 2.nmake
- 3.nmake test
- 4.nmake install
- 5.nmake clean
踩坑记录
- 编译的时候一直提示找不到setargv.obj错误,查Google找到解决方案,删除Configurations/windows-makefile.tmpl文件中的"setargv.obj"即可.
本文来自投稿,不代表本站立场,如若转载,请注明出处: